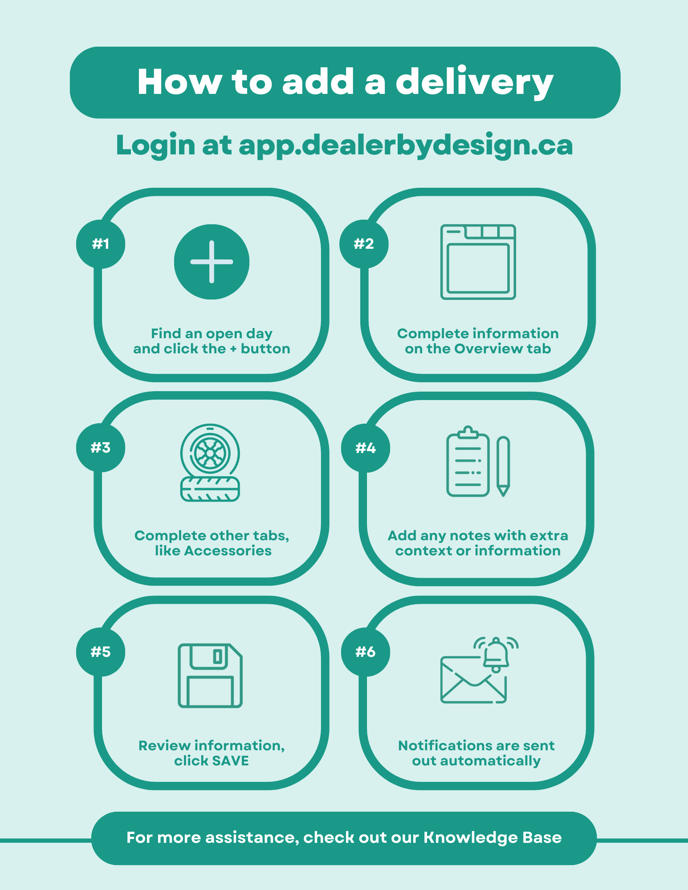
This Knowledge Base article will guide you through the process of creating a new delivery within the system. A delivery tracks the preparation process of a vehicle, once sold.

For a downloadable version, click here.
Additional Information
#1 - The add symbol is present in two spots for each day; the header and bottom card. If you do not see the add symbol, the day is locked which takes away the ability to add or move a delivery on to that day.
#2 - The Overview tab is the screen that loads when you click the add button. The Overview tab contains delivery information such as identifying numbers (like VIN, stock #, and deal #), along with names (like customer and staff involved).
#3 - The Other tabs are customizable by your dealership, and should be filled out as required. As you select items from these tabs, they can dynamically generate corresponding tasks within the predefined lists (eg. Parts, Service, etc.)
#4 - Notes are a great replacement for sticky notes and email threads. Whenever information needs to be communicated, simply drop a note on the specific delivery for it to be captured.
#5 - Review the information entered into the system, making an effort to confirm that the delivery date and time are set correctly. Once the information has been confirmed, ensure to click SAVE. All changes will be added to the history which is available within the Options menu of a delivery.
#6 - Whenever a delivery is added or changes are made and saved, notifications will be sent out to those indicated; Sales Representative, Sales Manager, Finance Manager. As well, notifications will be sent out to users that have 'All Notifications' enabled.
'All Notifications' should only be enabled for users like a Parts and Service advisor who manages the process day-to-day. We do not recommend enabling 'All Notifications' on all users.
.png?height=120&name=Dealer-by-Design-Logo-Graphic-White%20(2).png)